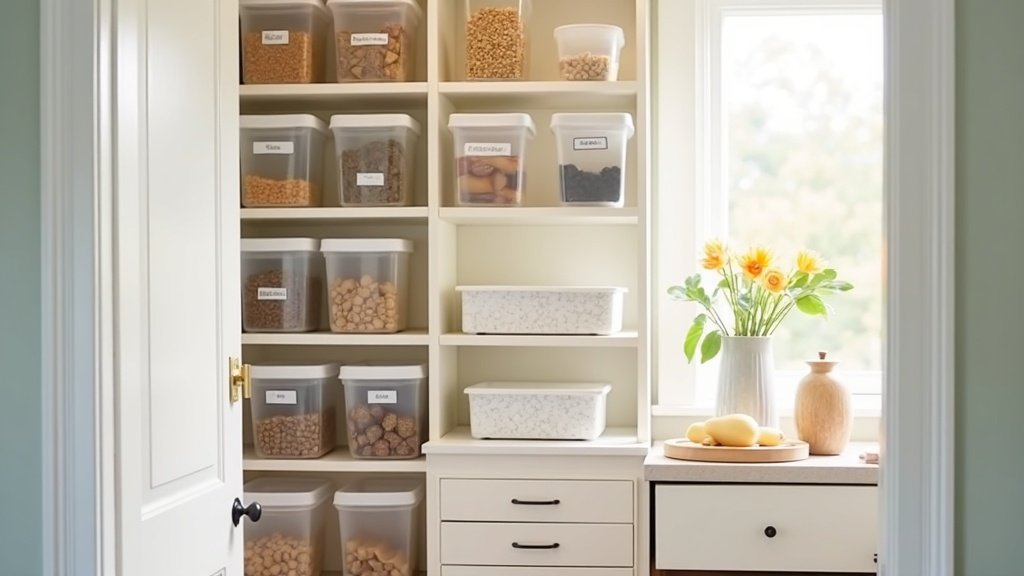
A disorganized pantry isn’t just an aesthetic problem — it’s a money problem. Every duplicate jar of cumin you buy because you could not see the one you already had is money spent twice. A structured pantry pays for itself in a few months. This guide walks through the zone system, the right products for each zone, and a labeling approach that actually holds up over time.
Quick Answer
An organized pantry pays for itself by stopping the duplicate purchases you make when you cannot see what is already on the shelf. Fix it in five steps: purge completely, set up zones by how you use items, add the containers worth investing in, label everything, and keep a realistic maintenance routine. Start with the zone system; it does the most work.
Step 1: The Complete Purge
Before buying any containers or organizers, remove everything from your pantry. Every item. Then:
- Check expiration dates — discard expired items without guilt
- Consolidate duplicates (three half-empty bags of rice become one container)
- Identify items that belong elsewhere (cleaning supplies, tools)
- Donate non-perishables you genuinely won’t use
Most households discover they have 30–40% less food than they thought after removing duplicates and expired items. This is the data you need before buying organizers.
Step 2: The Zone System
Divide your pantry into functional zones based on access frequency and category. Here’s a proven layout for a standard pantry:
| Zone | Shelf Position | Contents |
|---|---|---|
| Daily Use | Eye level | Coffee, tea, snacks, cooking oils |
| Weekly Use | One shelf up/down | Grains, pasta, canned goods, baking |
| Bulk & Backup | Bottom shelves | Extra inventory, large packages |
| Kids’ Zone | Lowest accessible | Approved snacks (if applicable) |
| Appliance/Gear | Top shelf | Rarely used appliances, serving items |
The key principle: frequency determines height. What you reach for daily should be between hip and eye level. What you use monthly goes to the top or bottom.
Step 3: Containers — What’s Worth the Investment
Airtight Canisters for Dry Goods
The biggest ROI in pantry organization is moving dry goods (flour, sugar, rice, pasta, cereal) from original packaging into airtight containers. Benefits: no more bag clips, easier measuring, pest prevention, and cleaner shelves. The OXO Good Grips POP Containers are the gold standard — the one-button seal works with one hand, they’re dishwasher safe, and they stack reliably.
Shop OXO POP Containers on Amazon
For a basic pantry, start with a 10-piece set covering the staples. Measure your shelf depth before buying — OXO POP containers come in configurations optimized for standard 12″ and 16″ shelves.
Lazy Susans for Corner and Back Shelf Access
Corners and back-of-shelf areas are where pantry organization fails. A turntable lazy susan solves the “stuff gets buried” problem: one spin brings everything to the front. Use them for spices, condiments, oils, and canned goods. A two-tier version doubles the capacity of a standard shelf section.
Shelf Risers for Canned Goods
Standard shelves waste vertical space. A shelf riser lets you stack canned goods in a stadium-style arrangement — every can is visible without moving others. The bamboo and wire options are both durable; choose wire if you want to see through the riser, bamboo if you prefer a cleaner aesthetic.
Step 4: Labeling — A System That Actually Holds Up
Most labeling systems fail because they’re either too elaborate (hand-lettered calligraphy labels that take 20 minutes each) or too vague (“Baking”). Here’s a middle path that works:
Container Labels
- Use a label maker (not handwriting) — it’s faster and cleaner
- Label the container, not the lid — lids move and get mixed up
- Include the item name only — skip the date (you’ll never update it)
- Chalkboard labels work well if you rotate contents frequently
Shelf Labels
Stick zone labels on the shelf edge (not the wall): “GRAINS,” “CANNED,” “SNACKS,” “BAKING.” When someone puts something away in the wrong place, they can self-correct. This is the difference between a system that lasts and one that dissolves in three weeks.
Expiration Tracking
Rather than labeling expiration dates on individual items (tedious), do a monthly “front-to-back” rotation: move older items to the front when restocking. This is the same FIFO (first-in, first-out) system grocery stores use.
Step 5: Realistic Maintenance Routine
The pantry that stays organized is the one with the simplest maintenance rules:
| Frequency | Task | Time |
|---|---|---|
| Weekly | Grocery put-away in correct zones | 5 min |
| Monthly | Front-to-back rotation, remove empties | 10 min |
| Quarterly | Full expiration check, refill containers | 20 min |
| Annually | Full purge and system reset | 60 min |
Common Pantry Mistakes to Avoid
- Buying containers before measuring — always measure shelf depth, height, and width first
- Over-labeling — if a label doesn’t change behavior, it’s just visual noise
- Buying everything at once — start with the daily-use zone, then expand
- Ignoring the door — over-door organizers work well for spices and small packets
- Mixed categories in one container — “miscellaneous” bins become the junk drawer of the pantry
Budget-Friendly Approach
If you’re starting with a tight budget, prioritize in this order:
- Shelf risers (highest impact per dollar for canned goods visibility)
- One lazy susan for the deepest shelf section
- Airtight containers for the 3–4 dry goods you use most
- Label maker or chalkboard labels
A $60–80 investment covering these four items transforms most pantries. Add containers incrementally as budget allows.
Who Should Use This Pantry System?
Best for: renters, busy families, small kitchens, and anyone who keeps buying duplicates because the back of the shelf is impossible to see. The system works best when you organize by how you cook, not by how a Pinterest pantry looks in a photo.
Use this approach if: your pantry has mixed package sizes, half-used bags, snack overflow, canned goods, or baking supplies that keep migrating between shelves.
Skip a full container overhaul if: your pantry is already easy to shop from, you rotate ingredients quickly, or you do not want to maintain decanted containers. Choose something else if: the real problem is cabinet space rather than pantry layout — in that case, start with our kitchen cabinet organizer guide instead.
Related Pantry and Kitchen Guides
- Best pantry storage containers tested for dry goods and snacks
- Step-by-step pantry organization system
- First apartment kitchen essentials
- Kitchen tools under $50 that actually earn shelf space
Frequently Asked Questions
What is the best way to organize a small pantry?
Start with zones, not containers. Group breakfast items, baking supplies, snacks, canned goods, backup staples, and grab-and-go items first. Then buy containers only for zones that actually need them.
Are pantry storage containers worth it?
They are worth it for dry goods you use often, such as flour, rice, cereal, oats, sugar, pasta, and snacks. They are less useful for ingredients you rarely refill or items that already stack well in their original packaging.
How do I stop my pantry from getting messy again?
Use labels, keep one overflow zone, and do a five-minute reset before grocery shopping. Most pantry systems fail because every shelf becomes overflow. Give extra items one dedicated place instead.
Should I use clear bins or baskets in a pantry?
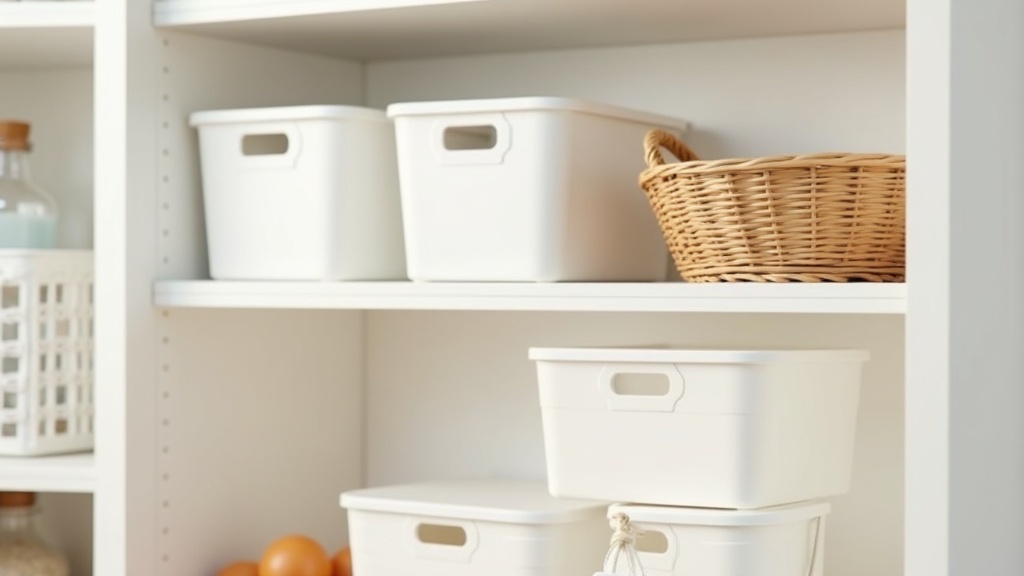
Use clear bins when you need visibility, such as snacks, packets, and backup spices. Use baskets when visual clutter bothers you, but label them clearly so family members do not turn them into junk bins.
How often should I reorganize my pantry?
Do a light reset weekly and a full purge every three to four months. Check expiration dates, wipe shelves, and move nearly expired items to the front before buying more duplicates.
The Bottom Line
A well-organized pantry isn’t a one-time project — it’s a system. The zone framework, consistent container and labeling choices, and a simple monthly maintenance routine are the three elements that determine whether it sticks. Start with the purge, build the zones, add the right products where they solve real problems, and keep the maintenance light enough to actually do it.
Shop Pantry Organization Products
Disclosure: This post contains affiliate links. If you purchase through our links, we may earn a small commission at no extra cost to you. Learn more. As an Amazon Associate, we earn from qualifying purchases.
You May Also Like
- Best Pantry Storage Containers 2026: 7 Sets That Keep Food Fresh and Shelves Tidy
- How to Build a Pantry Organization System in 2026: Step-by-Step Guide
- Best Pantry Organizer Bins 2026: Top 7 Picks for a Clutter-Free
- OXO Good Grips POP Container Review 2026: Airtight Storage Worth Buying
- Best Refrigerator Organizer Bins 2026: Clear, Stackable Storage Picks